 Bellingham Exterior
 Building New in Columbia? The Windows Only Get One Chance to Be Installed Right
When you're building a new home in the Columbia neighborhood, the windows aren't just a product you pick out of a catalog — they're part of the building envelope, installed once, sealed once, and then buried behind siding and trim for the next few decades. Unlike a replacement window job, where a bad seal or a missed flashing detail is annoying but fixable, a new-construction window mistake gets covered up. If it's wrong, nobody finds out until there's a stain on the drywall or soft framing around a sill years down the road.
We install new-construction windows for builders, general contractors, and owner-builders working in Bellingham and throughout Whatcom County, including projects in and around Columbia. Because this is a coastal Puget Sound neighborhood — close enough to the water to catch salt-laden air off Bellingham Bay, and squarely inside our region's long wet season — the margin for error on flashing and water management is smaller than it is in drier climates. We treat every new-construction window opening as a system, not a hole with a frame in it.
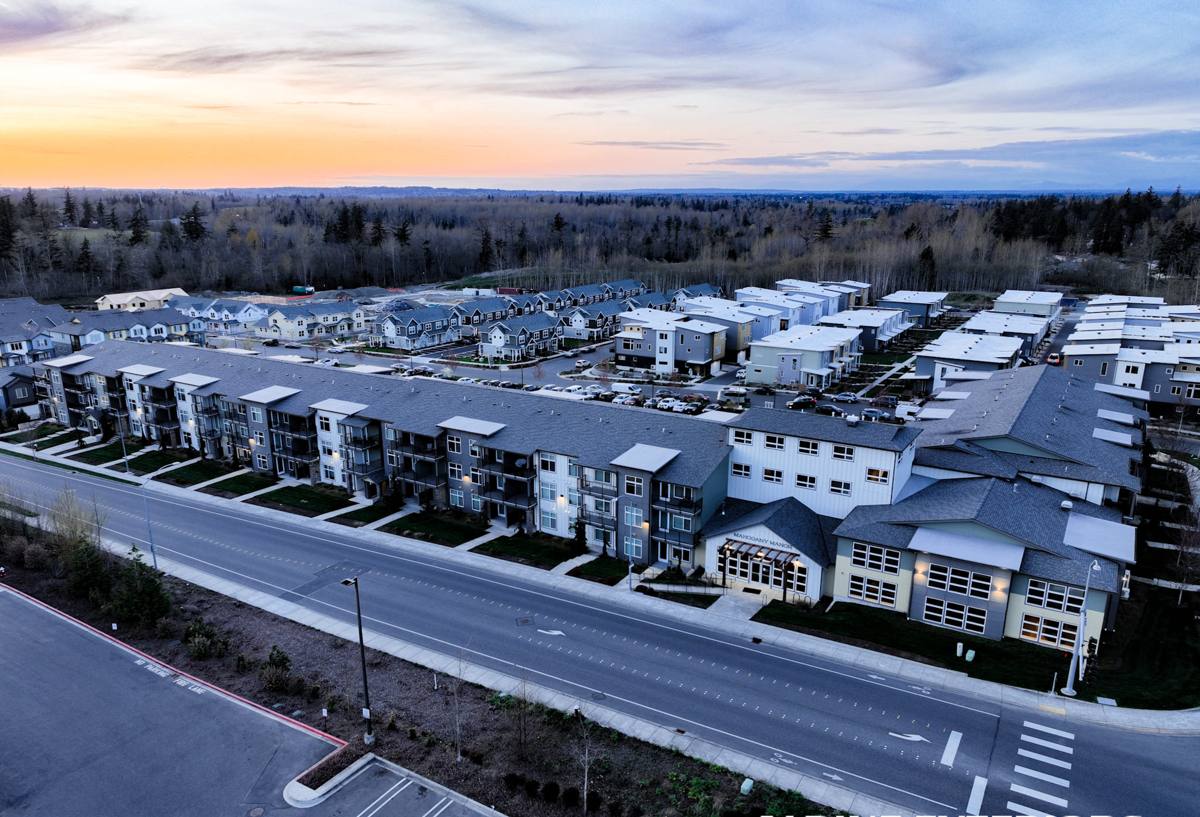
Why Bellingham's Climate Changes How a Window Should Be Installed
Whatcom County doesn't get hurricane-force storms, but it gets something arguably harder on a building envelope: months of steady, wind-driven rain, humid air off the water, and a moss and mildew season that can run from fall through spring. Salt air off the bay accelerates corrosion on unprotected fasteners and hardware. None of this is dramatic on any single day, but it's relentless over a year, and a new-construction window that's even slightly out of plumb or missing a proper drainage path will find the weak point eventually.
For new construction specifically, this matters because the window opening is being built from scratch — the rough opening, the weather-resistive barrier (WRB), the flashing, and the window itself all have to work together as one continuous drainage plane. There's no old caulk line or existing trim to hide behind. Get the sequencing right during framing and window-in, and the house is set up to shed water correctly for the life of the siding. Get it wrong, and you're fighting moisture intrusion in a wall that was supposed to be brand new.
What "Driving Rain" Actually Does to a New Window Opening
Wind-driven rain doesn't just fall on a window — it gets pushed sideways and upward against the frame, especially on exposed elevations. A correctly built opening assumes water WILL reach the window flange and plans a path for it to drain back out, rather than assuming a perfect bead of sealant will keep every drop out forever. That's the difference between an installation that survives thirty years of Whatcom County winters and one that starts failing in five.
What a Correct New-Construction Window Install Actually Involves
A proper install is a sequence, and skipping or reordering a step is where most long-term problems start. Here's what we do on every opening:
- Rough opening check: Confirm the opening is square, plumb, and sized correctly to the window's actual dimensions — not just "close enough."
- Sill pan flashing: Install a sloped, sealed sill pan so any water that gets past the window has a built-in path to drain back outside the wall.
- WRB integration: Weave the window's flanges into the weather-resistive barrier using a proper shingle-lap sequence — sides first, then head flashing over the top — so water always sheds downward and outward.
- Setting and shimming: Set the window plumb, level, and square, shimmed at the manufacturer's specified points so the frame isn't racked or bowed once fastened.
- Fastening: Nailing-fin or flange fasteners driven per the manufacturer's schedule — corrosion-resistant hardware matters here given the salt content in coastal air.
- Insulation and air sealing: Low-expansion foam or backer rod and sealant around the perimeter gap — enough to seal and insulate without bowing the frame.
- Head flashing and drip cap: A final layer directing water around and past the top of the window, not into the wall assembly.
Every one of these steps is inspected before siding goes on, because once the wall is closed up, there's no easy way to verify any of it again.
Choosing Windows for a Columbia New Build
New construction gives you a real choice of window material and configuration, since you're not constrained by an existing frame. For homes in Columbia and elsewhere in Bellingham, the decision usually comes down to how the material handles sustained moisture exposure and how much upkeep the homeowner wants to take on.
| Frame Material | Moisture Behavior | Maintenance | Typical Fit |
|---|---|---|---|
| Vinyl | Won't rot or corrode; performs well in wet climates | Low — occasional cleaning | Value-focused new builds, rentals, spec homes |
| Fiberglass | Very stable in wet/humid conditions, minimal expansion/contraction | Low | Higher-end new construction wanting durability without wood upkeep |
| Wood-clad | Good if cladding and flashing details are executed correctly; exposed wood interior needs protection from interior humidity | Moderate — exterior cladding low-maintenance, interior wood finish periodic care | Traditional or custom-look homes willing to invest in detailing |
| Aluminum | Prone to condensation and slower to insulate against cold unless thermally broken | Low, but performance-dependent on thermal break quality | Specific architectural or commercial-style applications |
We don't push one brand or material as universally "best" — we walk through what the builder's plans call for, what the budget supports, and how the elevation and exposure of each opening affects the recommendation. A window on a wall that takes the brunt of the weather off the bay may warrant a different spec than one on a sheltered side of the same house.
Our Process for New-Construction Window Installs
1. Plan Review and Coordination
We review the architectural plans or work directly with your general contractor to confirm window sizes, egress requirements, and rough opening dimensions before framing is finalized. Catching a sizing conflict on paper is a lot cheaper than catching it after the wall is framed.
2. Product Selection
We walk through frame material, glazing packages, and performance ratings suited to the home's orientation and exposure, with straightforward pros, cons, and cost differences — no upsell for its own sake.
3. Site Sequencing
We coordinate timing with the builder so windows go in at the right point in the framing and WRB sequence — not too early, not after siding prep has already started.
4. Installation
Our crew follows the flashing and fastening sequence outlined above on every opening, with consistent detailing whether it's a single window or a full elevation of them.
5. Inspection Before Close-In
Before siding or exterior finish covers the openings, we do a final check of flashing laps, fastening, and sealant — the last point where a problem is easy and cheap to fix.
Energy Code and Performance Considerations
Washington's state energy code sets minimum performance requirements for new construction, including window U-factor (how well the window resists heat loss) and, depending on the project, solar heat gain coefficient. Every window we install carries an NFRC label showing its actual tested performance, so what goes into the wall matches what's specified on the energy compliance paperwork — not just what's printed on a marketing brochure.
In a marine climate like Bellingham's, U-factor tends to matter more than solar heat gain for most elevations, since the priority is usually keeping heat in during our long cool, wet season rather than blocking summer sun. We'll talk through what makes sense for your specific home rather than defaulting to a one-size answer.
Mistakes We See on New Builds — and Build Our Process Around Avoiding
Most window callbacks on new construction trace back to a handful of repeatable errors:
- Skipping or improperly lapping the sill pan flashing, leaving no drainage path if water gets behind the window.
- Fastening the window before confirming it's square, which racks the frame and stresses the seals from day one.
- Using the wrong sealant or fastener for a coastal environment, leading to premature corrosion or seal failure.
- Head flashing installed under the WRB instead of over it, directing water into the wall instead of around it.
- Rushing the sequence to keep pace with a framing schedule, at the expense of flashing details that take a little longer to do right.
None of these show up on install day. They show up two, five, or ten winters later — which is exactly why the installation sequence matters more than almost anything else on a new-construction window job.
Why a Crew That Already Works Columbia Makes a Difference
Columbia sits close enough to Bellingham Bay that its homes deal with a steadier dose of salt air and driving rain than properties further inland in Whatcom County. A crew that's worked new construction throughout Bellingham knows how that exposure tends to play out on different elevations and orientations, and adjusts flashing and material choices accordingly rather than treating every opening the same way. We're also familiar with local building department expectations and inspection timing, which keeps a new-construction project moving instead of stalling on a callback for a detail that could have been right the first time.
What New-Construction Window Work Typically Costs
Every new build is different, and material choice, window count, and glazing package all move the number. In broad terms, the main cost factors are:
| Factor | Impact on Cost |
|---|---|
| Frame material (vinyl vs. fiberglass vs. wood-clad) | Vinyl is typically the most budget-friendly; fiberglass and wood-clad run higher |
| Glazing package (double vs. triple pane, Low-E coatings) | Higher-performance glass adds cost but improves comfort and energy performance |
| Number and size of openings | More and larger windows increase both material and labor cost |
| Elevation exposure | Openings on weather-exposed walls may call for extra flashing detail and labor time |
| Coordination complexity | Tight builder schedules or custom shapes can add labor time |
We'll give you a clear, itemized estimate once we know the plans and product selections — no vague allowances that turn into surprises at closing.
Let's Talk About Your Columbia New Build
If you're framing a new home in Columbia or planning one soon, it's worth getting a window contractor involved before the rough openings are finalized rather than after. We're happy to look over your plans, talk through material and performance options suited to this stretch of Whatcom County's climate, and give you a straightforward, no-pressure estimate. Use the form below to get started.