 Bellingham Exterior
 Building New in Blaine Means Building for the Water
Blaine sits right on the water, tucked against the Canadian border with Drayton Harbor and Semiahmoo Bay on one side and the open exposure of the Strait of Georgia funneling weather in on the other. If you're framing a new home or addition here, your window openings are going to face a combination most inland Whatcom County builders don't deal with: salt-laden air working on metal components, driving rain that comes in sideways during winter storms, and long stretches of damp, shaded conditions that keep moss and algae established on anything that holds moisture. None of that is exotic to us — it's just what building on this stretch of coastline requires you to plan for from the first rough opening.
New-construction windows get one real chance to be installed correctly. Once the siding, trim, and interior finish go on, the flashing and sealing work underneath is hidden for the life of the house. On a coastal lot like Blaine, a mediocre install doesn't fail in year one — it fails in year eight or ten, quietly, behind the wall, usually around the time nobody remembers exactly how the window was flashed in the first place.
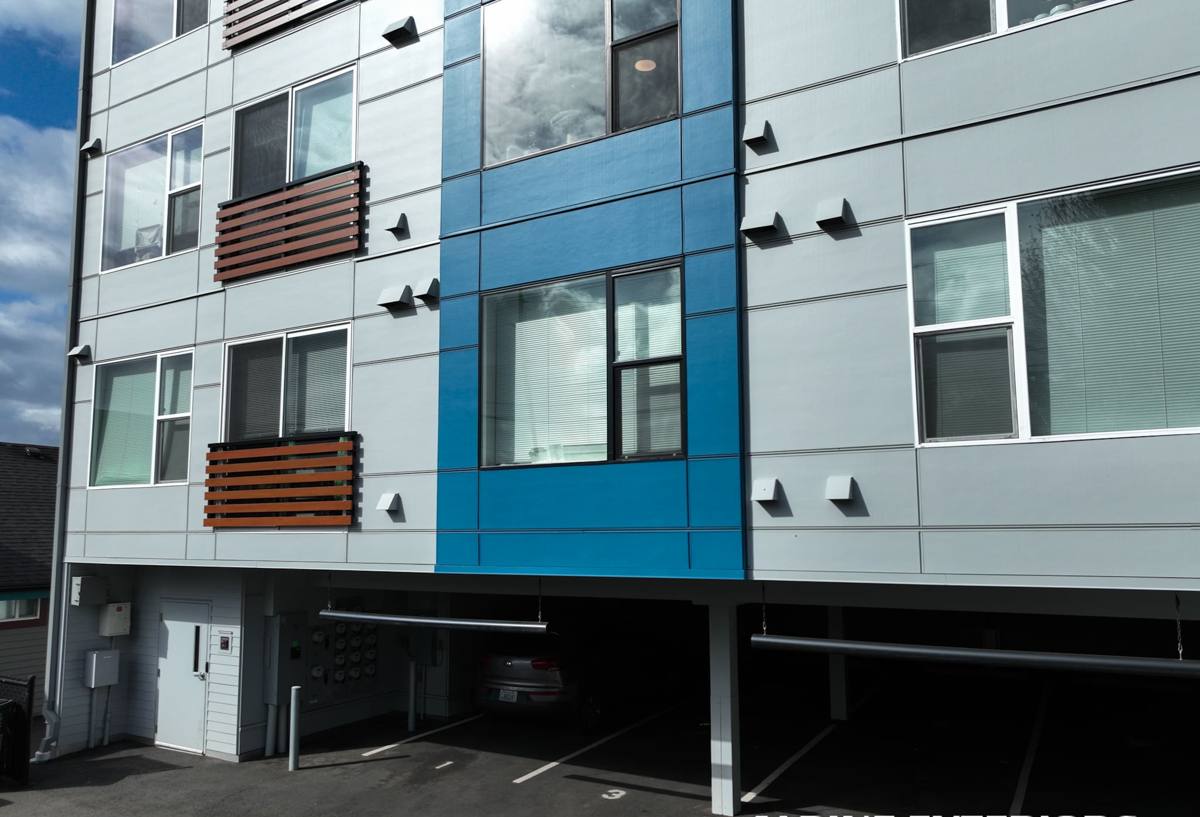
New-Construction Windows Are a Different Job Than Replacement
We get calls that mix up "replacement windows" and "new-construction windows," and the distinction matters more than most people expect. Replacement windows are built to fit into an existing, finished opening — they lean on the surrounding trim and siding that's already in place. New-construction windows have a nailing fin (also called a flange) around the perimeter that gets fastened directly to the sheathing before the weather-resistive barrier and siding go over it. That fin is what ties the window into the rest of the building envelope, and it only works if the flashing sequence around it is done in the right order.
Why the sequence matters more here than in a dry climate
In a low-rain climate, a slightly out-of-order flashing job might never get tested hard enough to fail. In Blaine, with wind-driven rain hitting west and southwest-facing walls repeatedly through the fall and winter, any shortcut in the flashing order gets tested constantly. Water finds the path of least resistance, and on a new build, that path shouldn't exist in the first place.
What a Correct Installation Actually Involves
A properly installed new-construction window is really a small system of overlapping, water-shedding layers, not just a unit screwed into a hole. On every job we do, the sequence covers the same non-negotiable steps, regardless of window brand:
Sill pan flashing first
Before the window ever goes in, the rough opening sill gets a sloped, back-dammed pan flashing so that any water that does get past the window has a way to drain back out — not down into the wall framing. This is the single most-skipped step we see corrected on other builders' punch lists, and it's the one that causes the most damage when it's missing.
Jamb and head flashing integrated with the WRB
The water-resistive barrier (housewrap or a fluid-applied membrane) has to be cut, folded, and taped in a specific shingle-lap order around the opening — sides first, then the top — so that every layer sheds water onto the layer below it, all the way down to the sill pan. Get the order backward and you've built a funnel instead of a drain path.
Nailing fin fastening and shimming
The window gets set plumb, level, and square, shimmed at the manufacturer's specified points so the frame isn't racked or bowed, then fastened through the nailing fin per the manufacturer's schedule. An out-of-square window stresses the sash and seals from day one, which shows up later as air leaks or a sash that won't latch cleanly.
Sealant, backer rod, and interior air sealing
Exterior sealant is a backup layer, not the primary defense — but it still has to be the right sealant, tooled correctly, over backer rod at the right joints. On the interior, the gap between the frame and rough opening gets sealed for air control, separate from the exterior water management.
- Sloped, back-dammed sill pan installed before the window
- WRB integrated in proper shingle-lap order (jambs, then head)
- Window set plumb, level, square, and correctly shimmed
- Fasteners driven per the manufacturer's nailing schedule
- Exterior sealant and backer rod at specified joints only
- Interior air-sealing gap filled separately from exterior sealing
- Flashing tape rated for the temperature and surface it's applied to
Choosing a Frame Material for Salt Air and Driving Rain
Frame material choice matters more on a marine-exposed lot than it does a few miles inland. Salt air accelerates corrosion on hardware and fasteners, and constant damp conditions punish anything that traps or absorbs moisture. Here's how the common options generally hold up in Blaine's conditions:
| Frame Material | Coastal / Moisture Behavior | Maintenance Load | General Fit for Blaine |
|---|---|---|---|
| Vinyl | Won't rot or corrode; hardware quality varies by manufacturer | Low — occasional cleaning | Solid, budget-friendly default for most new builds |
| Fiberglass | Very stable in temperature and moisture swings; strong seal retention over time | Low | Good upgrade for exposed elevations facing the water |
| Wood-clad | Cladding protects exterior, but any breach exposes wood to rot risk in a wet climate | Higher — finish and seal checks matter | Best reserved for protected elevations, not full water exposure |
| Aluminum | Prone to corrosion and condensation in salt air unless thermally broken and properly coated | Moderate | We use it selectively, mainly for larger commercial-style openings |
We don't push one brand or material as universally "best" — it's a trade-off between upfront cost, maintenance tolerance, and which elevation the window sits on. A window facing the water on the west side of the house deserves a different conversation than one tucked under a covered porch on the east side.
Moss Season and Your Window Openings
Whatcom County's long moss season isn't just a roof and siding problem. Moss and algae need sustained moisture and shade to establish, and window sills, trim boards, and the transition where trim meets siding are exactly the kind of horizontal and semi-shaded surfaces they colonize first. On a new build, the fix isn't a chemical treatment after the fact — it's getting the drainage geometry right during framing and trim so water doesn't sit and dwell in those spots to begin with. Sloped sills, drip caps over the head trim, and a small gap at the bottom of trim boards (rather than caulking everything airtight) all give water somewhere to go instead of somewhere to sit.
How We Sequence the Work on a Blaine Job Site
On new construction we're usually working alongside a general contractor's schedule, not running the whole build. That means coordination matters as much as installation skill. We confirm rough opening sizes against the approved window schedule before units are ordered, install once the sheathing and WRB are ready for us (not before, and not so late that we're holding up siding), and we walk each opening with whoever is running the WRB and siding install so there's no ambiguity about lap order at the transitions. On a coastal site, weather windows for exterior work can be tighter — we plan around forecasted rain rather than pushing sealant or tape application into wet or freezing conditions where it won't bond properly.
Common Problems We Catch Before They Become Rot
Most of what we flag on other trades' rough openings in this area falls into a short list: missing or backward-lapped sill pans, WRB taped in the wrong order at the corners, fasteners driven outside the nailing schedule (too few, wrong spacing, or through the glass edge of the frame), and sealant used as the only water defense instead of a backup. Every one of these is invisible once the wall is closed up, and every one of them shows up eventually as staining, soft trim, or a drafty window — usually during the wettest months, when it's hardest to diagnose and most disruptive to open the wall back up.
Energy Performance in a Marine Climate
Blaine's climate is mild compared to the rest of the country, but it's damp and often overcast, which changes what matters in a window's performance numbers. Low-E coatings and a solid overall U-factor help with heat loss during our cool, wet winters, and a window with good air infiltration ratings matters more here than in a drier climate, since persistent damp air finds gaps more readily. We size glazing packages to the orientation of each opening — a big west-facing window over the water gets a different glass spec conversation than a small bathroom window on a sheltered wall.
Why Hire a Crew That Already Works in Blaine
New-construction window installation isn't complicated in principle, but getting it right on a specific site depends on understanding how that site's exposure, wall assembly, and trade sequencing actually work together. A crew that's installed windows across Whatcom County's coastal lots has already seen how driving rain behaves against a given elevation, how long moss takes to establish on a poorly drained sill, and where salt air quietly shortens the life of the wrong hardware choice. That's not something you can fully substitute with a spec sheet — it's built from doing the work on this coastline repeatedly and paying attention to what holds up.
A Practical Checklist Before Your Windows Go In
If you're a homeowner working with a builder, or a GC bringing in a window subcontractor, these are worth confirming before the openings are closed up:
- Rough openings verified against the actual window schedule before ordering
- Sill pan flashing specified and installed on every opening, not just "problem" elevations
- WRB lap order at each window confirmed with whoever installs siding next
- Frame material matched to each elevation's actual water and sun exposure
- Fastening schedule followed per manufacturer instructions, not "close enough"
- Exterior sealant treated as backup, not the primary water barrier
- Drip caps and sloped sills detailed to keep moisture from dwelling and growing moss
If you're planning a new build or addition in Blaine and want a straight answer on what your window openings need for this site, we're happy to take a look and put together a free, no-pressure estimate — just fill out the form below.