 Bellingham Exterior
 Building New in Happy Valley? Get the Windows Right the First Time
New construction is the one chance you get to build the window opening correctly before drywall, siding, and trim close everything up. Once the house is finished, fixing a poorly flashed window means tearing into interior or exterior finishes to get at it. In a new build in Happy Valley, that first install is the whole ballgame — the window unit itself matters less than the flashing, sealing, and framing details that happen around it before anyone ever notices the window at all.
We install new-construction windows on homes throughout Bellingham, and Happy Valley comes with its own set of demands. It's close enough to Bellingham Bay to catch salt-laden air, exposed enough to take driving rain off Pacific storm systems, and damp enough for a good chunk of the year that moss and mildew are a constant background condition rather than an occasional nuisance. None of that is unusual for Whatcom County — but it does mean a window install built to a generic national spec sheet will underperform here faster than it would somewhere drier and calmer.
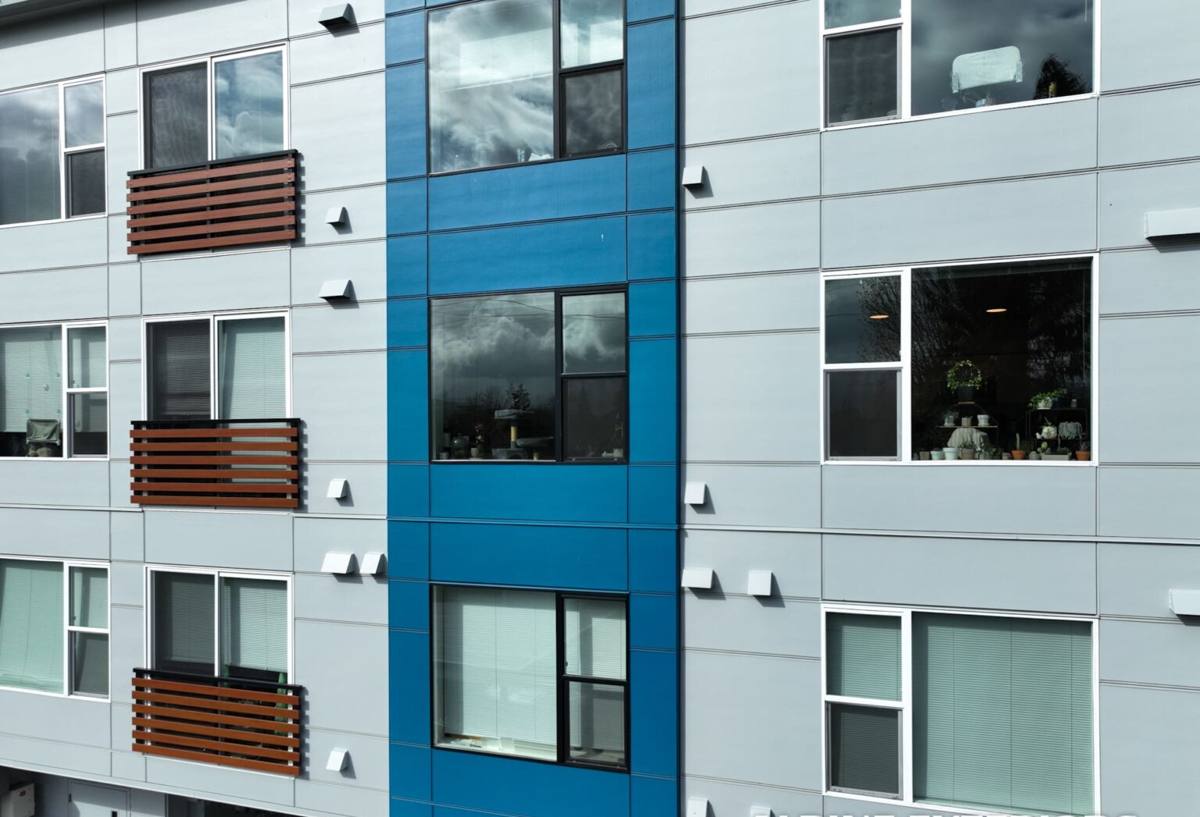
What Happy Valley's Climate Asks of a New Window
Every region has a climate signature that shapes how exterior work should be done. In Happy Valley, three things show up again and again on the homes we work on.
Salt Air and Metal Fatigue
Proximity to Bellingham Bay means airborne salt reaches building exteriors more than most homeowners expect, even a few miles inland. Salt air accelerates corrosion on unprotected metal — fasteners, hinge hardware on operable sashes, and lower-grade flashing metals all degrade faster than they would in a landlocked climate. The fix isn't complicated, but it has to be deliberate: correct fastener alloys and flashing materials chosen for coastal exposure, not just whatever ships in the box.
Driving Rain and Water Management
Storms coming off the Pacific don't just drop rain straight down — wind-driven rain hits window openings at an angle and gets pushed sideways and upward under trim and siding laps. A window opening built for calm, vertical rainfall will leak here. The opening needs a drainage path that assumes water will get behind the cladding at some point and needs somewhere to go besides your framing.
Moss Season and Prolonged Dampness
Whatcom County's moss season stretches across most of the fall, winter, and spring. That's a long stretch where sills, trim boards, and the base of window openings stay damp rather than drying out between rain events. Any organic wood trim or sealant detail that depends on regular drying cycles to perform will underperform in Happy Valley. Detailing has to account for sustained moisture contact, not occasional exposure.
What a Correct New-Construction Window Install Actually Involves
"New-construction window" refers to a window with a nailing flange, designed to be set into a framed rough opening before siding goes on — as opposed to a replacement or pocket window, which is designed to slide into an existing frame. The nailing flange approach gives us direct access to integrate the window into the home's water-resistive barrier (WRB) system, which is the real advantage of doing it during the build phase instead of after.
The Flashing Sequence Is the Whole Job
A correct install follows a strict order so that every layer sheds water onto the layer below it, like shingles — never in reverse. That generally means: a back-dammed sill pan to catch and direct any water that gets past the window itself, self-adhered flashing tape at the jambs, the window set and shimmed level and square, head flashing installed last and lapped over the WRB above the opening, and the whole assembly integrated into the housewrap before siding goes on. Skip or reverse any one of those steps and the opening looks fine for years — until it doesn't.
Sealant plays a supporting role here, not the starring one. Caulk is not a flashing system. On a home we build correctly, sealant fills gaps and manages air leakage; it is never the only thing standing between the house and wind-driven rain.
Choosing a Frame Material for This Site
Frame material affects how a window handles the damp, salt-tinged air common in Happy Valley over the long run. There's no single right answer for every home — budget, siding style, and how much upkeep you want to take on all factor in — but the trade-offs are worth understanding before you commit.
| Frame Material | Moisture & Salt Air Tolerance | Maintenance | Typical Upfront Cost |
|---|---|---|---|
| Vinyl | Good — won't corrode or rot, seams can be a weak point over time | Low | Lowest |
| Fiberglass | Very good — dimensionally stable, resists corrosion and moisture swelling | Low | Mid to high |
| Wood-clad | Depends on cladding integrity — once the exterior cladding is compromised, the wood core is exposed to sustained dampness | Moderate to high | High |
| Aluminum | Corrosion-prone near salt air unless properly coated; also conducts cold and can condense | Moderate | Mid |
For most new builds in this area, we steer homeowners toward vinyl or fiberglass for the pure practicality of coastal exposure, and reserve wood-clad for homes where the architectural look is worth the added maintenance commitment. We'll walk through the honest trade-offs for your specific design rather than push one material across the board.
Our Process for New-Construction Window Installations
We coordinate closely with the builder and framing crew so window openings are ready before we ever show up with product. Our sequence on a typical Happy Valley new-construction job:
- Plan review — we check window schedule, rough opening sizes, and manufacturer specs against the actual framing before ordering.
- Rough opening verification — every opening gets checked for level, square, and plumb, and for correct size tolerance, before the WRB goes up around it.
- Sill pan and flashing tape — sill pans are set with back-dams and end dams, jamb flashing tape goes on next.
- Setting the window — units are set, shimmed to manufacturer spec (never over-shimmed or racked to force a fit), and fastened through the nailing flange.
- Head flashing and WRB integration — head flashing laps over the housewrap above the opening so water sheds down and out, never behind the barrier.
- Interior and exterior sealant — applied at the appropriate joints only, per manufacturer instructions, to manage air sealing without relying on it for water management.
- Final walkthrough — every unit gets checked for operation, square, and a clean visual on flashing laps before we sign off.
Mistakes We Regularly See (and Correct) in New Builds
Some of these come from rushed schedules, some from crews unfamiliar with coastal Whatcom County conditions. Either way, they're avoidable with the right sequence and materials:
- Caulk used as the primary water barrier instead of proper flashing tape and sill pans
- Standard galvanized fasteners used where stainless or coated fasteners are appropriate given salt air exposure
- Sill pans skipped entirely or installed without back-dams
- Flashing layered in the wrong order, sending water behind the WRB instead of over it
- Rough openings cut too tight or too loose, forcing the window to be racked out of square during install
- Head flashing omitted or not lapped correctly over the housewrap above the window
Energy Code and Performance Considerations
Washington's state energy code sets minimum performance requirements for new-construction glazing, and Whatcom County's marine climate zone shapes what actually makes sense here. Our winters are milder than inland Washington but consistently damp and breezy, so the priority is usually a solid U-factor for heat retention combined with good air-sealing at the frame — more than deep solar heat gain control, which matters more in sunnier climates. We help homeowners pick a glass package that meets code and performs well for our specific weather pattern, rather than defaulting to whatever the builder's spec sheet lists as a baseline.
Why It Matters That We Already Work in Happy Valley
A new-construction window install is only as good as the crew's attention to sequence, and that attention comes easier when a crew already knows the area. We're familiar with the drainage patterns, siding styles, and builder practices common to Happy Valley and the greater Bellingham area, and we've corrected enough rushed installs to know exactly where corners tend to get cut. That local pattern recognition is worth more than a generic install checklist — it's the difference between a window that's technically installed and one that's actually built to hold up through a Whatcom County winter.
If you're framing a new build or planning one in Happy Valley, we're happy to walk the site, review your window schedule, and give you a straightforward, no-pressure estimate for getting the windows done right the first time. Reach out through the form below to get started.