 Bellingham Exterior
 Birch Bay's Waterfront Conditions Put Siding to the Test
Birch Bay sits right on the water in Whatcom County, and that location is exactly what makes siding here behave differently than siding ten miles inland. Homes facing the bay take salt-laden air almost year-round, and that salt doesn't just sit on the surface — it works into fasteners, trim seams, and any spot where the finish has started to fail, accelerating corrosion and paint breakdown in ways an inland home never sees. Add in wind-driven rain coming off open water, which pushes moisture sideways into laps and joints instead of just running down the face of the wall, and you've got a siding system that's under more mechanical stress than most manufacturers assume in their standard install specs.
Then there's moss. Whatcom County's long, wet shoulder seasons combined with tree cover and shaded, north-facing walls common on Birch Bay lots create ideal conditions for moss and algae to take hold on siding that stays damp too long. Once moss establishes itself in a seam or behind a piece of trim, it holds moisture against the material full-time, which is a slow but steady way to destroy siding that isn't built to shed water fast and dry out completely between storms.
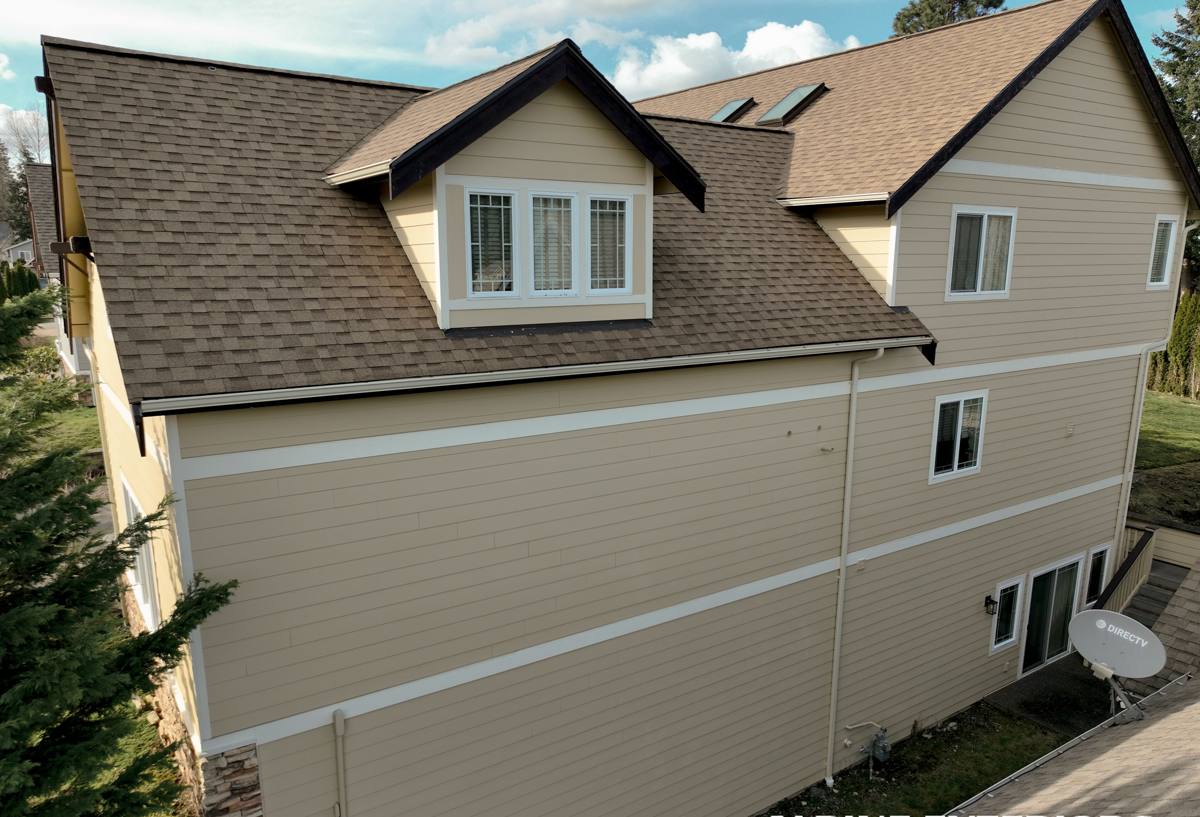
How to Tell Your Siding Has Reached the End of the Road
Not every siding problem means full replacement — but on a bay-front or near-water property, small problems tend to escalate faster than they would elsewhere, so it's worth knowing what to actually look for.
- Soft or spongy spots when you press on the siding, especially near the bottom courses or below windows
- Paint that's chalking, peeling, or bubbling in patches, particularly on walls facing the water
- Visible cracking, buckling, or panels that have pulled away from the wall
- Persistent moss or algae staining that comes back within a season or two of cleaning
- Gaps opening up at trim, corners, or butt joints where caulking has failed
- Rust streaking from fasteners, which usually means the fastener coating has given out
- A musty smell or visible staining on interior walls that share an exterior with the affected siding
Any one of these on its own might be a repair. Several at once, or any sign of soft sheathing underneath, usually means the siding system as a whole has stopped doing its job and a patch isn't going to hold.
What "Done Right" Actually Means on a Bay-Front Home
Siding replacement is easy to do badly and look fine for a year or two before problems show up. On a property exposed to salt air and driving rain, the details underneath the visible siding matter more than the siding itself.
Tear-Off and Sheathing Inspection
Every job starts with removing the old siding down to the sheathing, because that's the only way to actually see what's happened underneath. On homes near the water, we're specifically checking for moisture-damaged sheathing, rot around window and door openings, and any spots where past moss or algae growth has kept a section of wall wet for too long. Anything compromised gets repaired or replaced before new siding goes up — covering damaged sheathing with new siding just hides the problem for a few more years.
Weather-Resistive Barrier and Flashing
A correctly lapped weather-resistive barrier and properly integrated flashing at every window, door, and penetration is what actually keeps wind-driven rain out of the wall assembly. This is the part of the job you never see again once siding is installed, and it's also the part most likely to get rushed on a lower-quality install. Given how much wind-driven rain a Birch Bay property can take off the water, this step is not optional.
Fastening and Clearances
Fiber cement siding has specific fastening requirements — nail placement, spacing, and penetration all affect how the panels perform over time. Correct clearance at the ground, roofline, and any horizontal trim keeps water moving away from the wall instead of wicking back up into the material. On salt-air properties we also pay close attention to fastener material and coating, since standard fasteners degrade faster in this environment.
Why We Install Only James Hardie Fiber Cement
We don't install vinyl, LP SmartSide, primed wood, or other fiber cement brands. That's a deliberate standard, not a limitation on options. James Hardie is a non-combustible fiber cement product, which matters on its own merits, but it's the way the material is engineered for climate that makes it the right fit for a property like this one. Hardie's HZ5 product line is specifically formulated for wetter, more variable climates like ours in the Pacific Northwest — it resists moisture absorption and the swelling, warping, and cracking that comes with it far better than wood-based or wood-composite siding products.
The factory-applied ColorPlus finish is baked on under controlled conditions rather than field-painted, which means better adhesion and more consistent resistance to fading, chalking, and the kind of finish breakdown that salt air accelerates. It also comes with a longer finish warranty than field-applied paint can offer, and Hardie backs the material itself with a substantial transferable warranty — which matters if you ever sell a waterfront property, since a documented, transferable warranty is something buyers and their inspectors actually notice.
None of this means other products are junk. Vinyl is inexpensive and low-maintenance in mild conditions; engineered wood siding has real fans. But on a property facing salt air, wind-driven rain, and a long moss season, we've made fiber cement engineered for this climate our standard, and we'd rather explain that trade-off honestly than install something we don't think will hold up here.
Our Siding Replacement Process
- On-site assessment — we walk the exterior, check current siding condition, note problem areas (especially shaded, water-facing, and low-clearance walls), and discuss what you're seeing from the inside
- Tear-off — full removal of existing siding and trim down to the sheathing
- Sheathing repair — any rotted, soft, or water-damaged sheathing is repaired or replaced before moving forward
- Weather-resistive barrier and flashing — properly lapped house wrap and flashing at every window, door, and penetration point
- Siding installation — James Hardie panels or planks installed to manufacturer fastening and clearance specifications
- Trim and detail work — corners, fascia, and trim finished out, with attention to any spot where two materials meet
- Final walkthrough — we go over the finished job with you and address anything you want a closer look at
What Affects the Cost of a Siding Replacement
Every home is different, so we won't quote a number without seeing the property, but these are the main factors that move a project's cost up or down.
| Factor | Why It Matters |
|---|---|
| Home size and wall complexity | More square footage and more corners, gables, and transitions mean more material and labor |
| Sheathing condition | Rot or moisture damage found during tear-off requires repair before new siding can go on |
| Siding profile chosen | Lap siding, shingle-style panels, and board-and-batten all install differently and price differently |
| Trim and accessory scope | Corner boards, window trim, and fascia detail add labor beyond the flat wall area |
| Site access | Waterfront lots with limited staging space or steep grades can affect labor time |
| Existing exterior layers | Homes with multiple layers of old siding take longer to tear off than a single layer |
Why Hiring a Crew That Already Works Birch Bay Matters
Siding installation isn't identical everywhere, and a crew that mostly works inland projects doesn't automatically know how to detail a wall for salt air and sustained wind-driven rain. A crew already familiar with Birch Bay properties knows to pay closer attention to fastener corrosion resistance, to flash more conservatively on water-facing walls, and to recognize which shaded, low-airflow sections of a lot are going to be moss-prone regardless of what siding goes up. That local pattern recognition doesn't come from a manufacturer's install guide — it comes from having done the work here before.
There's also the practical side: permitting through Whatcom County, knowing realistic timelines around Birch Bay's weather windows, and being straightforward about scheduling if your property is a part-time or vacation home rather than a full-time residence. A crew that already works this area builds all of that into the plan from the start instead of figuring it out mid-project.
Keeping Birch Bay Siding Looking Right After the Install
Correctly installed James Hardie siding is low-maintenance, not zero-maintenance — a little attention keeps it performing the way it's designed to, especially this close to the water.
- Rinse the exterior periodically to clear salt residue and organic buildup, especially on water-facing and shaded walls
- Trim back vegetation and tree limbs that keep any section of wall shaded and damp longer than the rest of the house
- Check caulking at trim and butt joints annually and have any gaps re-sealed before wet season
- Address moss or algae growth early with a gentle wash rather than letting it establish in seams
- Keep gutters and downspouts clear so roof runoff isn't dumping extra water onto siding below
If you're seeing wear on your current siding or you're planning ahead for a replacement, we're happy to take a look and give you a straightforward, no-pressure estimate — just fill out the form below.