 Bellingham Exterior
 Storm Damage Roof Repair for Columbia Homes
Columbia sits close enough to Bellingham Bay that homes here take a different kind of weather beating than roofs further inland. Salt-laden air moves in off the water, wind-driven rain finds its way under anything that isn't sealed correctly, and the long gray stretch of the year keeps roofs damp enough for moss to take hold. When a windstorm or heavy rain event damages a roof in this neighborhood, the repair has to account for all of that — not just patch the visible problem and move on.
We work on roofs throughout Columbia and the surrounding Bellingham streets regularly enough to know how this specific stretch of Whatcom County weather treats different roofing materials over time. That familiarity matters when you're trying to figure out whether a storm-damaged roof needs a targeted repair or something more involved.
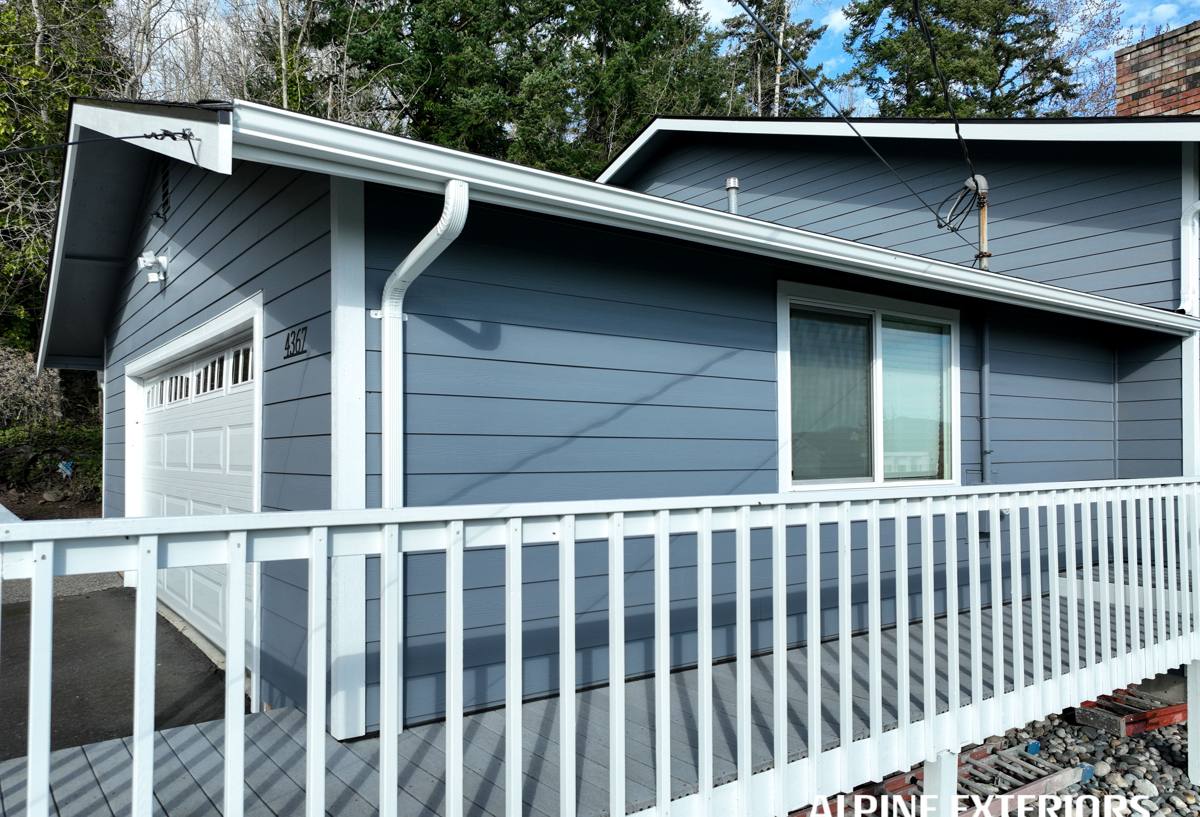
What Storm Damage Actually Looks Like Here
Storm damage on a Bellingham roof rarely looks like a dramatic hole. More often it's subtle enough that homeowners miss it until a stain shows up on a ceiling weeks later. The most common patterns we see after wind and rain events in this area include:
- Lifted or creased shingles along ridge lines and roof edges, where wind gusts get underneath and break the seal without fully removing the shingle
- Torn or missing shingles on sections facing prevailing wind, especially on older roofs where the adhesive strip has already weakened from age and sun exposure
- Damaged or displaced flashing around chimneys, skylights, and roof-to-wall transitions — these are almost always where driving rain finds its way in first
- Corroded fasteners and metal edges from salt air exposure, which can loosen over years and let a storm finish the job in a single afternoon
- Debris impact from tree limbs, which is common on lots with mature trees close to the roofline
- Moss-related rot that a storm exposes rather than causes — moss holds moisture against the roof deck year-round, and a hard rain event is often what finally reveals soft or failing wood underneath
That last point is worth sitting with. A lot of what gets called "storm damage" here is really moss and moisture damage that had been developing for a while, with the storm acting as the trigger that pushed water through. Treating only the obvious wind damage without checking for that underlying moisture problem is how the same repair gets redone a year or two later.
Why Columbia's Position Matters for the Repair
Proximity to the water changes the math on roofing materials and fasteners. Salt air accelerates corrosion on exposed metal — flashing, drip edge, nail heads, gutter hardware — faster than it would on a roof further from the bay. A repair that uses standard fasteners or bare metal flashing in a salt-air zone can look fine for a season and then start failing early. We factor that into material choices on every Columbia repair, using corrosion-resistant fasteners and flashing suited to coastal exposure rather than whatever is cheapest to stock.
The moss season is the other piece. Whatcom County's wet, mild fall-through-spring stretch gives moss and algae months to establish themselves on north-facing and shaded roof sections. Moss doesn't just look bad — it lifts shingle edges as it grows, holds water against the roofing material, and accelerates granule loss. A storm repair that ignores active moss growth nearby is a repair that's already on a shorter clock.
Driving Rain and Flashing
Unlike a straight-down rain, wind-driven rain moves sideways and works its way under laps and around penetrations that would otherwise shed water fine. This is why flashing quality and installation technique matter more here than in drier climates — a flashing detail that's "close enough" in a calm rain can leak under wind-driven conditions. Every storm repair we do gets flashing checked and, where needed, rebuilt to actually handle rain moving at an angle, not just falling straight.
What a Correct Storm Repair Involves
1. Stop Active Water Intrusion First
If a roof is actively leaking, the first priority is a temporary tarp or dry-in to stop water from reaching the interior and insulation. This isn't the fix — it's damage control while the real repair gets scheduled and materials are matched.
2. Full Roof Inspection, Not Just the Damaged Spot
Storms rarely damage only one area. Wind that lifts shingles on one slope has usually stressed fasteners and seals elsewhere too. We inspect the whole roof — not just the reported problem area — including flashing, vents, valleys, and any spots where moss or debris has been sitting.
3. Deck Inspection Where Water Has Been Present
Any area with a confirmed leak gets the roofing material pulled back far enough to check the deck underneath. Soft, delaminated, or rotted decking has to be replaced before new roofing goes down — covering damaged decking with new shingles just hides a problem that will resurface.
4. Matching Materials Correctly
For a repair to blend in and perform correctly, shingle type, weight, and where possible color need to reasonably match the existing roof. On older roofs where an exact match isn't available, we'll tell you honestly what your options are rather than installing something that clashes or performs differently than the surrounding material.
5. Corrosion-Aware Fastening and Flashing
Given the salt air exposure in Columbia, we use fasteners and flashing rated for coastal conditions rather than standard-grade materials, particularly on chimneys, valleys, and any exposed metal edges.
6. Moss and Debris Cleanup
Any moss or accumulated debris near the repair area gets cleared as part of the job, since leaving it in place undermines the repair almost immediately.
Our Process, Start to Finish
- Contact and initial assessment — you describe what happened and what you're seeing; if there's active leaking, we prioritize getting a tarp on quickly
- On-site inspection — a full walk of the roof, not just the reported spot, with photos documenting what we find
- Honest scope and estimate — a written explanation of what's damaged, what's precautionary, and what it will cost, in plain language
- Insurance documentation if you're filing a claim — we provide the inspection findings and photos your insurer will need
- Repair work — completed with matched materials, corrosion-resistant hardware, and correct flashing detail
- Final walkthrough — we show you what was done and what to watch for going forward
Repair or Replace? What Actually Drives That Decision
Not every storm-damaged roof needs full replacement, but not every roof is a good candidate for a patch either. The table below covers the main factors we weigh.
| Factor | Favors Repair | Favors Replacement |
|---|---|---|
| Roof age | Under roughly 10-12 years, good remaining material | Nearing or past expected material lifespan |
| Extent of damage | Isolated to one section or a few spots | Widespread across multiple slopes |
| Deck condition | Solid, dry decking under the damaged area | Soft or rotted decking in multiple locations |
| Moss/moisture history | Minimal, well-ventilated roof | Long-term moss coverage with underlying rot |
| Material availability | Matching shingle still obtainable | Discontinued product, poor match available |
We'll always tell you when a repair is the honest answer, even if replacement would be the larger job. A patch that's done correctly on a sound roof can add years of service life without the cost of full replacement.
Insurance Claims: What to Know Going In
Many storm repairs in this area are covered in part by homeowners insurance, though coverage details vary by policy and insurer. What we can do is provide clear documentation — photos, a written scope, and an honest assessment of cause — that supports whatever claims process you're going through. We don't inflate scopes to match an insurance payout or downplay damage to keep a job small; the inspection findings are the same whether you're paying out of pocket or filing a claim.
Why a Local Crew Matters for This Kind of Repair
A roofer who doesn't regularly work near the water can miss how much faster salt air ages exposed metal, or underestimate how aggressively moss establishes itself in a shaded, damp yard. Crews who work Columbia and the rest of Bellingham routinely already know which details tend to fail first on homes in this specific setting, and price and specify materials accordingly instead of guessing. That local pattern recognition is often the difference between a repair that holds and one that needs revisiting after the next big storm.
After the Storm: A Homeowner's Quick Checklist
- Check ceilings and upper closets for new staining, even faint discoloration
- Look at the yard and gutters for shingle granules, torn shingle pieces, or metal fragments
- From the ground, scan the roofline for obviously lifted, missing, or curled shingles
- Note any tree limbs that came down near or on the roof, even if no damage is visible
- Check attic spaces (if accessible) for damp insulation or daylight showing through the deck
- Avoid climbing onto the roof yourself after a storm — wet, storm-loosened roofing is not safe to walk
- Get a professional inspection promptly, even without visible interior leaks — small entry points take time to show up inside
If a recent storm has left your Columbia home with damaged, lifted, or missing roofing, we're happy to take a look and give you an honest read on what's actually needed. Reach out for a free, no-pressure estimate using the form below.