 Bellingham Exterior
 Building New in Sehome? The Windows Are Where Most Problems Start
Sehome sits close enough to Bellingham Bay that salt-laden air, wind-driven rain, and a long gray moss season are just part of the deal. For a remodel or replacement project, a bad window install shows up eventually as a leak or a stain. For new construction, the stakes are higher: the window opening is being built from scratch, which means every flashing detail, every fastener, and every gap either gets done right the first time or gets buried behind siding for the next twenty years. There's no "we'll catch it later" with new construction windows — the wall assembly around them only goes together once.
We install new-construction windows on additions, ground-up builds, and full envelope rebuilds around Bellingham and the rest of Whatcom County, and Sehome's mix of older lots with newer infill construction means we're regularly working next to mature trees, tight setbacks, and homes where drainage off a neighboring roof or slope is part of the picture. That context matters as much as the window itself.
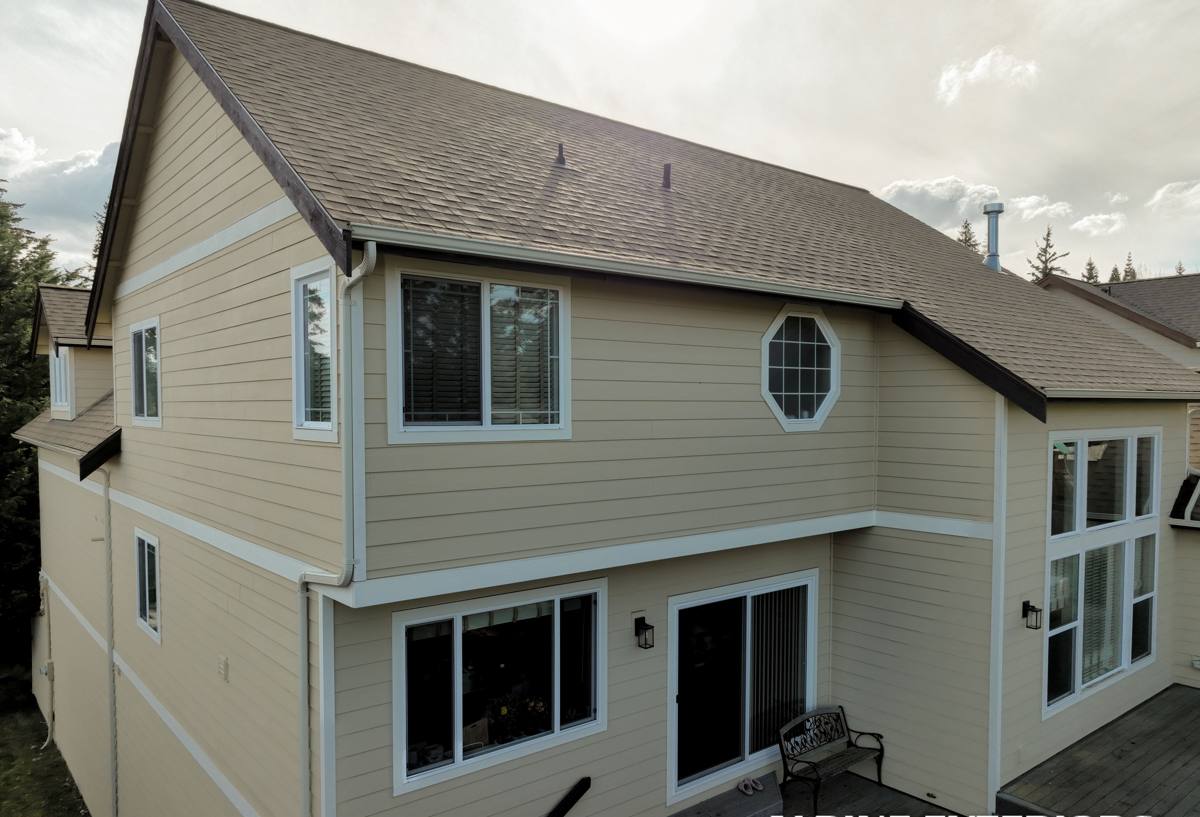
What "New-Construction Window" Actually Means
New-construction windows have a nailing fin (flange) around the perimeter of the frame that gets fastened directly to the wall sheathing before siding goes on. That's different from a replacement or "pocket" window, which is sized to fit inside an existing frame with no access to the rough opening or sheathing behind it. On a true new build or addition, we get the advantage of building the opening correctly from the studs out — which is exactly why cutting corners here is inexcusable. Every layer is accessible.
Why This Distinction Matters in Our Climate
A nail-fin window depends entirely on how it's integrated with the weather-resistive barrier (WRB) and flashing. Get that sequencing wrong and you've built a leak path directly into the wall cavity — one that won't show itself until moisture has already done damage to the sheathing, framing, or insulation. In a climate with Bellingham's rainfall totals and wind-driven rain events, that sequencing isn't optional detail work, it's the entire job.
The Local Climate Factors We Design Around
| Condition | What It Does to Windows | What We Do About It |
|---|---|---|
| Driving, wind-driven rain | Pushes water sideways into gaps that would stay dry in a calmer climate | Full flashing sequence with sill pan, jamb flashing, and head flashing lapped shingle-style |
| Salt air proximity to the bay | Accelerates corrosion on unprotected fasteners and lower-grade hardware | Corrosion-resistant fasteners and frame materials suited to coastal exposure |
| Extended moss/mildew season | Moisture sits longer against exterior surfaces and in shaded, north-facing walls | Sill pans with positive drainage, back-dammed sills, and drainage gaps behind siding |
| Mixed sun/shade lots (tree cover common in Sehome) | Slower drying cycles after rain events, more time for water to find weak points | Conservative flashing overlaps and vetted WRB integration, not just caulk |
Our New-Construction Window Install Process
This is the same core sequence every time, adjusted for the specific window brand and wall assembly on your plans:
- Rough opening check. We verify the opening is square, level, and sized correctly before the window ever shows up on site — a bad rough opening compounds into a bad window install no matter how good the window is.
- Sill pan flashing. A sloped or back-dammed pan goes in first so any water that gets past the window has a way out, not a place to pool.
- WRB integration. The weather-resistive barrier is cut and lapped in a specific order — sill, jambs, then head — so water sheds downward and outward at every layer, never getting trapped behind a lap that runs the wrong direction.
- Window set and shim. The unit is set into the opening plumb, level, and square, then shimmed at the manufacturer's specified points to avoid frame distortion that can cause operational issues later.
- Fastening. Nail fins are fastened per the manufacturer's schedule — spacing and fastener type both matter for wind load and warranty compliance.
- Flashing tape and head flashing. Jamb flashing tape and a head flashing (metal or membrane, depending on the assembly) complete the shingle-lap sequence over the nailing fin.
- Interior and exterior sealant. Backer rod and sealant at the interior air seal, plus exterior sealant only where the assembly calls for it — over-sealing the exterior can actually trap moisture instead of releasing it.
What a Correct Job Looks Like When It's Buried
Once siding goes up, nobody sees the flashing work again unless there's a problem. That's why we photograph the flashing sequence on every opening before it's covered — not for marketing, but so there's a documented record of what's behind your walls if it's ever needed for a warranty claim or future renovation.
Choosing the Right Window for a Sehome Build
Window selection for new construction comes down to a handful of practical factors, not brand loyalty:
- Frame material — vinyl, fiberglass, and wood-clad all perform differently in coastal, wet climates; fiberglass and quality vinyl generally hold up well against moisture cycling and require less upkeep than bare wood exteriors.
- U-factor and performance rating — Washington's energy code sets minimum performance requirements for new construction windows, and we spec to meet or exceed code for your specific wall assembly.
- Glazing package — double-pane is baseline; triple-pane or upgraded low-E coatings are worth discussing for north- and west-facing exposures that take the brunt of weather.
- Operable style — casement windows generally seal tighter against driving rain than double-hung units because the sash compresses against the frame rather than sliding past it.
- Warranty structure — read what's actually covered (glass seal failure, hardware, frame) and for how long, and understand that improper installation can void manufacturer coverage regardless of the window's quality.
We don't push one manufacturer for every job. We'll walk through the trade-offs — cost, maintenance, appearance, and how each option handles moisture over time — and spec what actually fits your build and budget.
Common Mistakes We See on New Construction (and Avoid)
- Sill pans skipped or improvised with caulk alone instead of a real drainage plane.
- WRB laps installed out of sequence, directing water behind the barrier instead of over it.
- Fasteners spaced incorrectly or the wrong type used, weakening wind resistance and voiding warranty terms.
- Flashing tape applied over dirty, wet, or cold sheathing where it won't adhere long-term.
- Sealant used to "fix" a flashing gap instead of building the flashing correctly in the first place.
None of these mistakes are visible on install day. They show up as a stain on drywall two winters later — usually after the wettest stretch of a Whatcom County winter has had time to find every weak point.
Why a Crew That Already Works Sehome Matters
Sehome's building stock is a mix — older homes near the university getting additions and infill, along with newer construction on smaller lots with tighter setbacks and more shared drainage concerns with neighboring properties. A crew that's worked this neighborhood already understands typical lot grading, how mature tree cover affects drying time on shaded walls, and how Bellingham's permitting and inspection process runs for new openings. That local familiarity shortens the learning curve on your project and reduces surprises mid-build.
We also know Whatcom County's rain patterns aren't uniform — a wall assembly that performs fine on a sheltered lot might need more conservative flashing on an exposed one closer to the bay. Getting that judgment right comes from doing the work here repeatedly, not from a generalized install manual.
What to Expect Cost-Wise
New-construction window costs vary by size, frame material, glazing package, and how many openings are involved, so we won't quote a number without seeing your plans. Broadly, expect fiberglass and higher-performance glazing packages to sit above standard vinyl, and larger or custom-shaped openings to cost more than standard sizes. We'll give you a clear, itemized estimate before any work starts — no surprise add-ons once the openings are already framed.
Planning Checklist Before Your Windows Go In
- Confirm rough opening sizes match the window schedule on your plans before framing is finalized.
- Decide on frame material and glazing package early — long lead times on custom orders can affect your build schedule.
- Confirm your WRB and flashing tape products are compatible with each other (not all products bond reliably to every WRB).
- Ask your contractor how flashing will be documented before it's covered by siding.
- Review the manufacturer's warranty terms for installation requirements that could void coverage.
If you're building new or adding on in Sehome and want windows installed the way they should be — sequenced flashing, correct fastening, and a wall assembly that's built to handle Bellingham's rain and salt air rather than just tolerate it — we're glad to walk your plans and give you a straightforward, no-pressure estimate using the form below.