 Bellingham Exterior
 Building New in Puget? The Windows Are Where Most Problems Start
If you're framing a new home or an addition in the Puget area near Bellingham, the windows are one of the few details that will quietly define how the whole building performs for the next twenty or thirty years. Everything else on a house can usually be repaired without much drama. Window openings that were flashed wrong, sequenced wrong, or fitted with the wrong window for the exposure are a different story — the fix almost always means opening up finished wall, which nobody wants to pay for twice.
New construction gives you one real advantage over a retrofit: you get to do it right the first time, before siding, trim, and interior finish are in place. That's the whole pitch for hiring a crew that specializes in getting new-construction window openings correct from the start, rather than treating windows as a set-and-forget line item on the framing schedule.
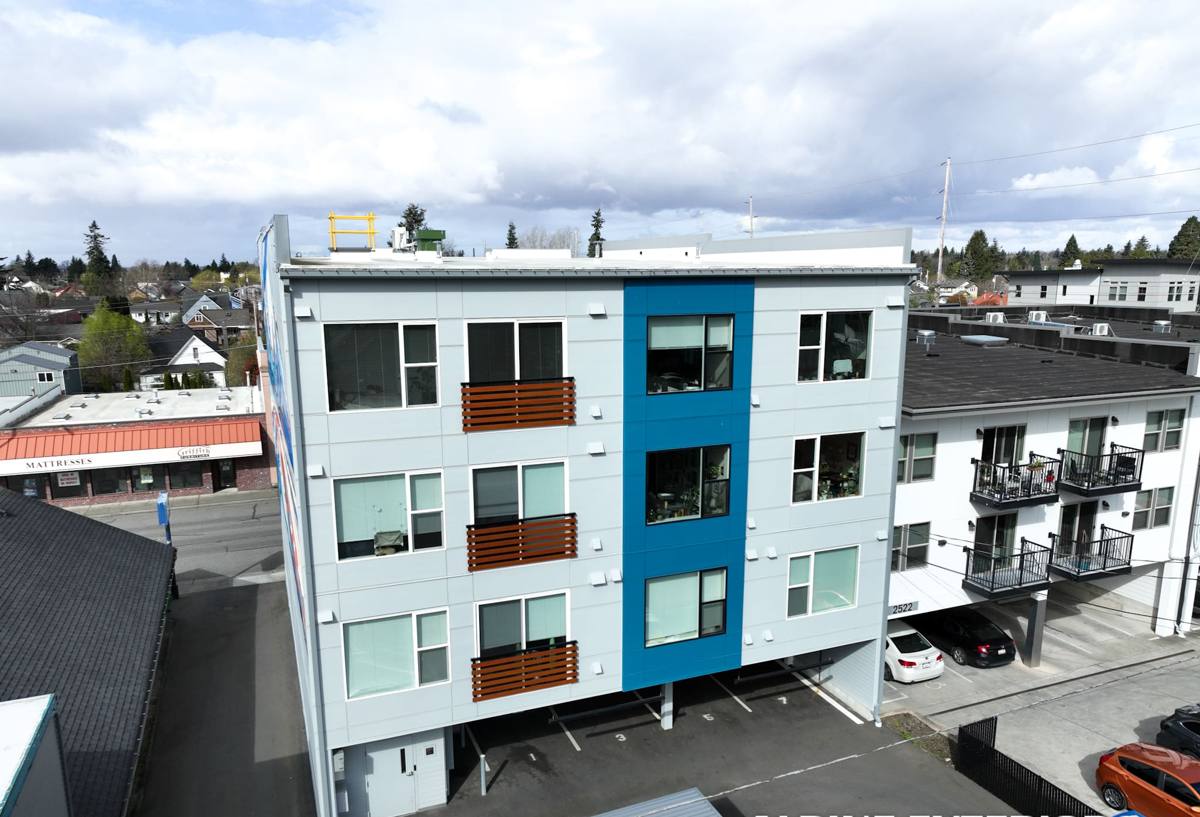
What Puget's Exposure Means for a New Window Install
Puget sits close enough to the water and the weather patterns coming off the Salish Sea that new construction here needs to be built for sustained wind-driven rain, not just occasional showers. Whatcom County gets a real wet season, and homes near the water pick up salt-laden air on top of that. Add a long moss season where damp, shaded surfaces stay wet for weeks at a time, and you've got three separate stresses acting on every window opening: water intrusion, corrosion of exposed metal components, and organic growth on anything that doesn't drain and dry properly.
None of that is exotic — it's standard Pacific Northwest coastal exposure. But it means a few things that matter specifically for new construction:
- Flashing details need to assume wind-driven rain will hit the window, not just fall straight down onto it.
- Fasteners, flashing tape, and any exposed hardware should be rated for salt-air exposure, especially for homes closer to the water.
- Sill pans and drainage paths need to actually shed water out of the wall, because a damp sill that never fully dries is exactly what encourages moss and mildew to take hold on trim and siding around the opening.
- Window selection matters — not every frame material and finish holds up the same way to years of damp, cool exposure.
Why New Construction Is Different From a Retrofit or Replacement
Retrofit and replacement window work happens inside an existing wall — you're matching an opening that already exists, often reusing existing flashing or working around finished siding. New construction is the opposite: you're building the opening and the water management system for it from bare framing, which means there's no excuse for cutting corners, but also no hidden surprises to work around.
The tradeoff is that new-construction installs have to be sequenced correctly with the rest of the building envelope — the weather-resistive barrier, the flashing, the siding, and the window itself all have to go in a specific order for the drainage plane to work as a system. Get the order wrong and you can install a genuinely excellent window and still end up with a leak, because water finds the gap in the sequence, not the gap in the product.
What a Correct New-Construction Window Job Involves
- Rough opening check. Confirming the opening is square, level, and sized correctly to the window's actual dimensions with proper shim space — not "close enough."
- Sill pan flashing. A sloped, sealed pan under the window that directs any water that gets past the window itself back outside the wall, rather than letting it sit on the sill or migrate into the framing.
- Weather-resistive barrier integration. The house wrap or building paper has to be lapped correctly with the window flashing so water sheds downward and outward at every layer, shingle-style.
- Window flashing at jambs and head. Side and top flashing tied into the weather barrier above and below in the correct order, with a head flashing detail that kicks water away from the top of the window rather than letting it run behind the trim.
- Air sealing and insulation at the perimeter. The gap between the window frame and rough opening gets sealed and insulated, which matters for comfort and energy performance as much as for moisture control.
- Interior and exterior trim. Finished last, once the water management layers underneath are confirmed to be complete and correct.
Every one of those steps is inspectable before the wall gets closed up — which is exactly why doing new construction with a crew that treats each step as a checkpoint, rather than a race to get to drywall, is worth the extra attention.
Choosing the Right Window for a Puget-Area Build
Frame material and glazing package both affect how a window holds up to this climate over time. There's no single "best" window for every project — it depends on budget, the home's design, and how exposed the building is to wind and moisture. What matters is picking with the local climate in mind rather than defaulting to whatever's cheapest or most heavily marketed.
| Frame Material | How It Handles Local Climate | Maintenance Consideration |
|---|---|---|
| Vinyl | Good moisture resistance, no corrosion risk from salt air | Low maintenance; check seals and weep holes periodically |
| Fiberglass | Very stable in temperature and moisture swings, holds paint well | Low maintenance; higher upfront cost |
| Aluminum-clad wood | Attractive interior wood with protected exterior; needs correct flashing detail since wood is behind the cladding | Moderate — watch for any cladding seam failure over years of wet exposure |
| Bare wood | Classic look, but least tolerant of sustained damp exposure and moss-prone conditions without diligent upkeep | Highest — repainting and sealing on a regular cycle |
We'll talk through these tradeoffs honestly rather than pushing one product line. If a homeowner wants bare wood windows on a heavily shaded, moisture-prone elevation, we'll say so plainly and talk about what that means for long-term upkeep — that's a maintenance conversation, not a reason to avoid the product outright.
Glazing and Performance
Most new construction in this area benefits from a double- or triple-pane unit with a low-E coating suited to a heating-dominated, mild climate rather than a hot-sun climate. Argon or krypton gas fill and warm-edge spacers help with condensation resistance, which matters when interior humidity meets consistently cool glass surfaces through a long wet season.
Our Process for New-Construction Window Work in Puget
We work new-construction projects on a schedule that's coordinated with the framer and siding crew, not in isolation:
- Pre-install walkthrough. We check rough openings against the window schedule before anything ships, catching sizing or squareness issues while they're still cheap to fix.
- Flashing installed in sequence. Sill pan, jamb flashing, window set, head flashing, weather barrier integration — done in the correct shingle-lap order so every layer sheds water to the one below it.
- Photo documentation at each stage. Because these details get covered by siding, we document the flashing and sealing work while it's still visible, so there's a record of what's behind the finished wall.
- Final fit and operation check. Every window is checked for square, smooth operation, and proper seal before we sign off.
Working Puget builds regularly means we're not learning the area's exposure patterns on your project — we already know which elevations tend to take the worst of the wind-driven rain and where moss and algae growth show up first on a new build, and we plan the flashing and material choices around that from day one.
A Practical Checklist for Homeowners and Builders
- Confirm sill pan flashing is part of the install — don't assume it's automatic on every crew's process.
- Ask how the weather-resistive barrier will be lapped with the window flashing, and in what order.
- Match frame material to the specific exposure of each elevation, not a single blanket choice for the whole house.
- Get fastener and flashing tape specs in writing if the home is close to the water.
- Have flashing details photographed before siding closes the wall.
- Confirm interior air sealing at the rough opening is part of the scope, not left to whoever does insulation later.
Common Mistakes We See on New Builds
Most window problems on new construction in this area trace back to a handful of repeatable mistakes: skipping or shortcutting the sill pan, lapping the weather barrier in the wrong order around the flashing, using fasteners that aren't suited to salt-air exposure on waterfront or near-waterfront lots, and rushing the sequencing because the schedule is tight and windows are seen as a quick task rather than a system that has to integrate with the rest of the envelope. None of these are hard to avoid — they just require treating the window opening as a water-management detail, not a hole to fill.
Get a Free Estimate for Your Puget New-Construction Project
If you're planning a new build or addition in the Puget area and want the windows done as part of a properly sequenced, correctly flashed installation, we're glad to walk the plans or the framed openings with you and put together a straightforward, no-pressure estimate. Use the form below to get started.